29 February 2020
24 February 2020
My kind of slow stitching
Slow stitching...for me, is an improv piece that takes forever to progress.
Four years ago, our Wednesday night group had a purple challenge. It started with dark and light "purple" fence rail pieces. Two members have finished their quilts..
OK, two out of 12!!!
I keep plugging along..
I have two of the purple challenge pieces going...Starting to love it.
...Slowly proceeding...
Slowly, Even by machine.
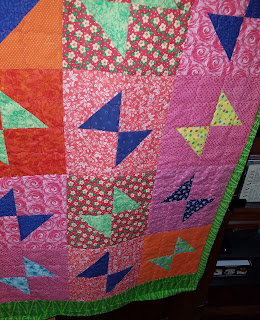
This photo shows the addition of another border.
Maps Quilt Finished!
Another AHIQ challenge quilt done and dusted! This one was part of the Maps prompt. Not much of a map really, but loosely based off an idea that maps and I don't always get along, especially the GPS kind. They tell me to turn right and I always, always turn right AFTER the turn instead of where I'm supposed to, so then I end up going in circles.
Then that got me to thinking that I'm so much better with directions that include landmarks etc. Which led to thinking about the kind of directions that a local can give and well... this quilt just came to be.
It's very simple but hopefully effective in telling its story. You can read more about this quilt and how it came to be on my latest post. So happy to see this one finished up and ready to use. As always, I am very pleased to see one of the AHIQ prompts leading me down yet another creative ally with good results. Will have to think harder about the hourglass prompt and see what crops up....
 |
| Turn Right... |
 |
| Started as a U&U Interpretation and morphed into an excellent Maps challenge quilt |
11 February 2020
Hourglass tutorial and progress
I decided to use Sujata Shah's method of making improv hourglass blocks. Here is a quick tutorial.
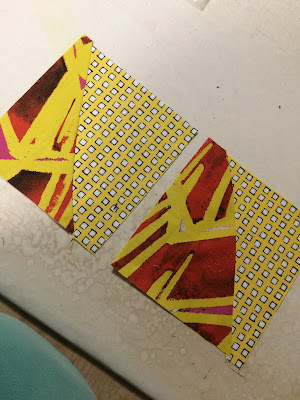
I layered two 9" blocks of fabric with both facing up.
I sliced them
shuffled the pieces
sewed the pieces together
pressed the seams toward the red.
stacked the blocks and sliced
sew together and press the seam to one side
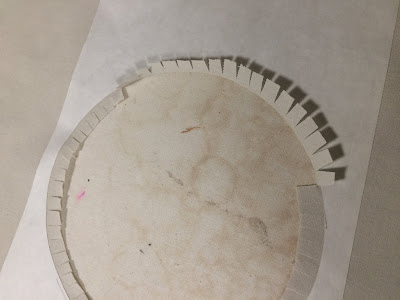
For the frame around the hourglass I used the six minute circle method. First I cut a piece of freezer paper and drew a circle using a plastic lid as my template. The lid happens to be 6" across.
I folded my gray frame fabric into quarters and pressed the center to help center the freezer paper circle
I cut out the freezer paper circle on the line and ironed it onto the frame fabric
cut out the frame fabric circle leaving at least a quarter inch to 3/8". Clip the seam allowance around the entire circle. Don't clip all the way to the paper.
Press the seam allowance over the edge of the paper
put paper under the circle and with a glue stick smear glue on the seam allowance all the way around the circle
place your circle frame over the hourglass block. It might take a little fiddling to get the seam allowance placed. I would lift the frame and look underneath to pull the seam allowance so it is all the way under. You can always use a bit more glue if the seam allowance is not sticking to the hourglass block
With the hourglass block on the bottom, gently lift up the frame fabric and peel it away from the frame fabric.
Slowly and carefully tear the freezer paper. Work your way around the circle and remove the freezer paper. I have also not torn the freezer paper and reused it, but I seemed to have more glue on this one so it was just easier to tear it and carefully remove it.
put the block under the sewing machine need and start to stitch in the crease line. You can only sew about an inch at a time. Carefully work your way around the circle and adjust any clips that need repositioned.
Once the circle is sewn, trim the hourglass block.
Here is what it looked like after it was sewn
Here it is pressed and the framed trimmed to 12"
and added to the design wall.
I get two hourglass blocks with one yellow and one red 9" square. I don't know how big I am going to make this quilt and for now I am just framing one of the blocks.
Subscribe to:
Comments (Atom)


