Showing posts with label string piecing. Show all posts

13 July 2021

String Tulips Quilted, Bound, and Mailed

 Kaja prompt will be challenging for me since I strongly prefer symmetrical bed quilts. But before starting the new one, I wanted to finish the previous prompt. {Could there be a more symmetrical quilt than this?} It's served its purpose as a sample for the QAL. And friends of my son would like a baby quilt. It needed to be quilted... and bound,.. and signed... and washed... and mailed. All those small steps that weigh us down. Done and dusted.

String Tulip baby quilt 3

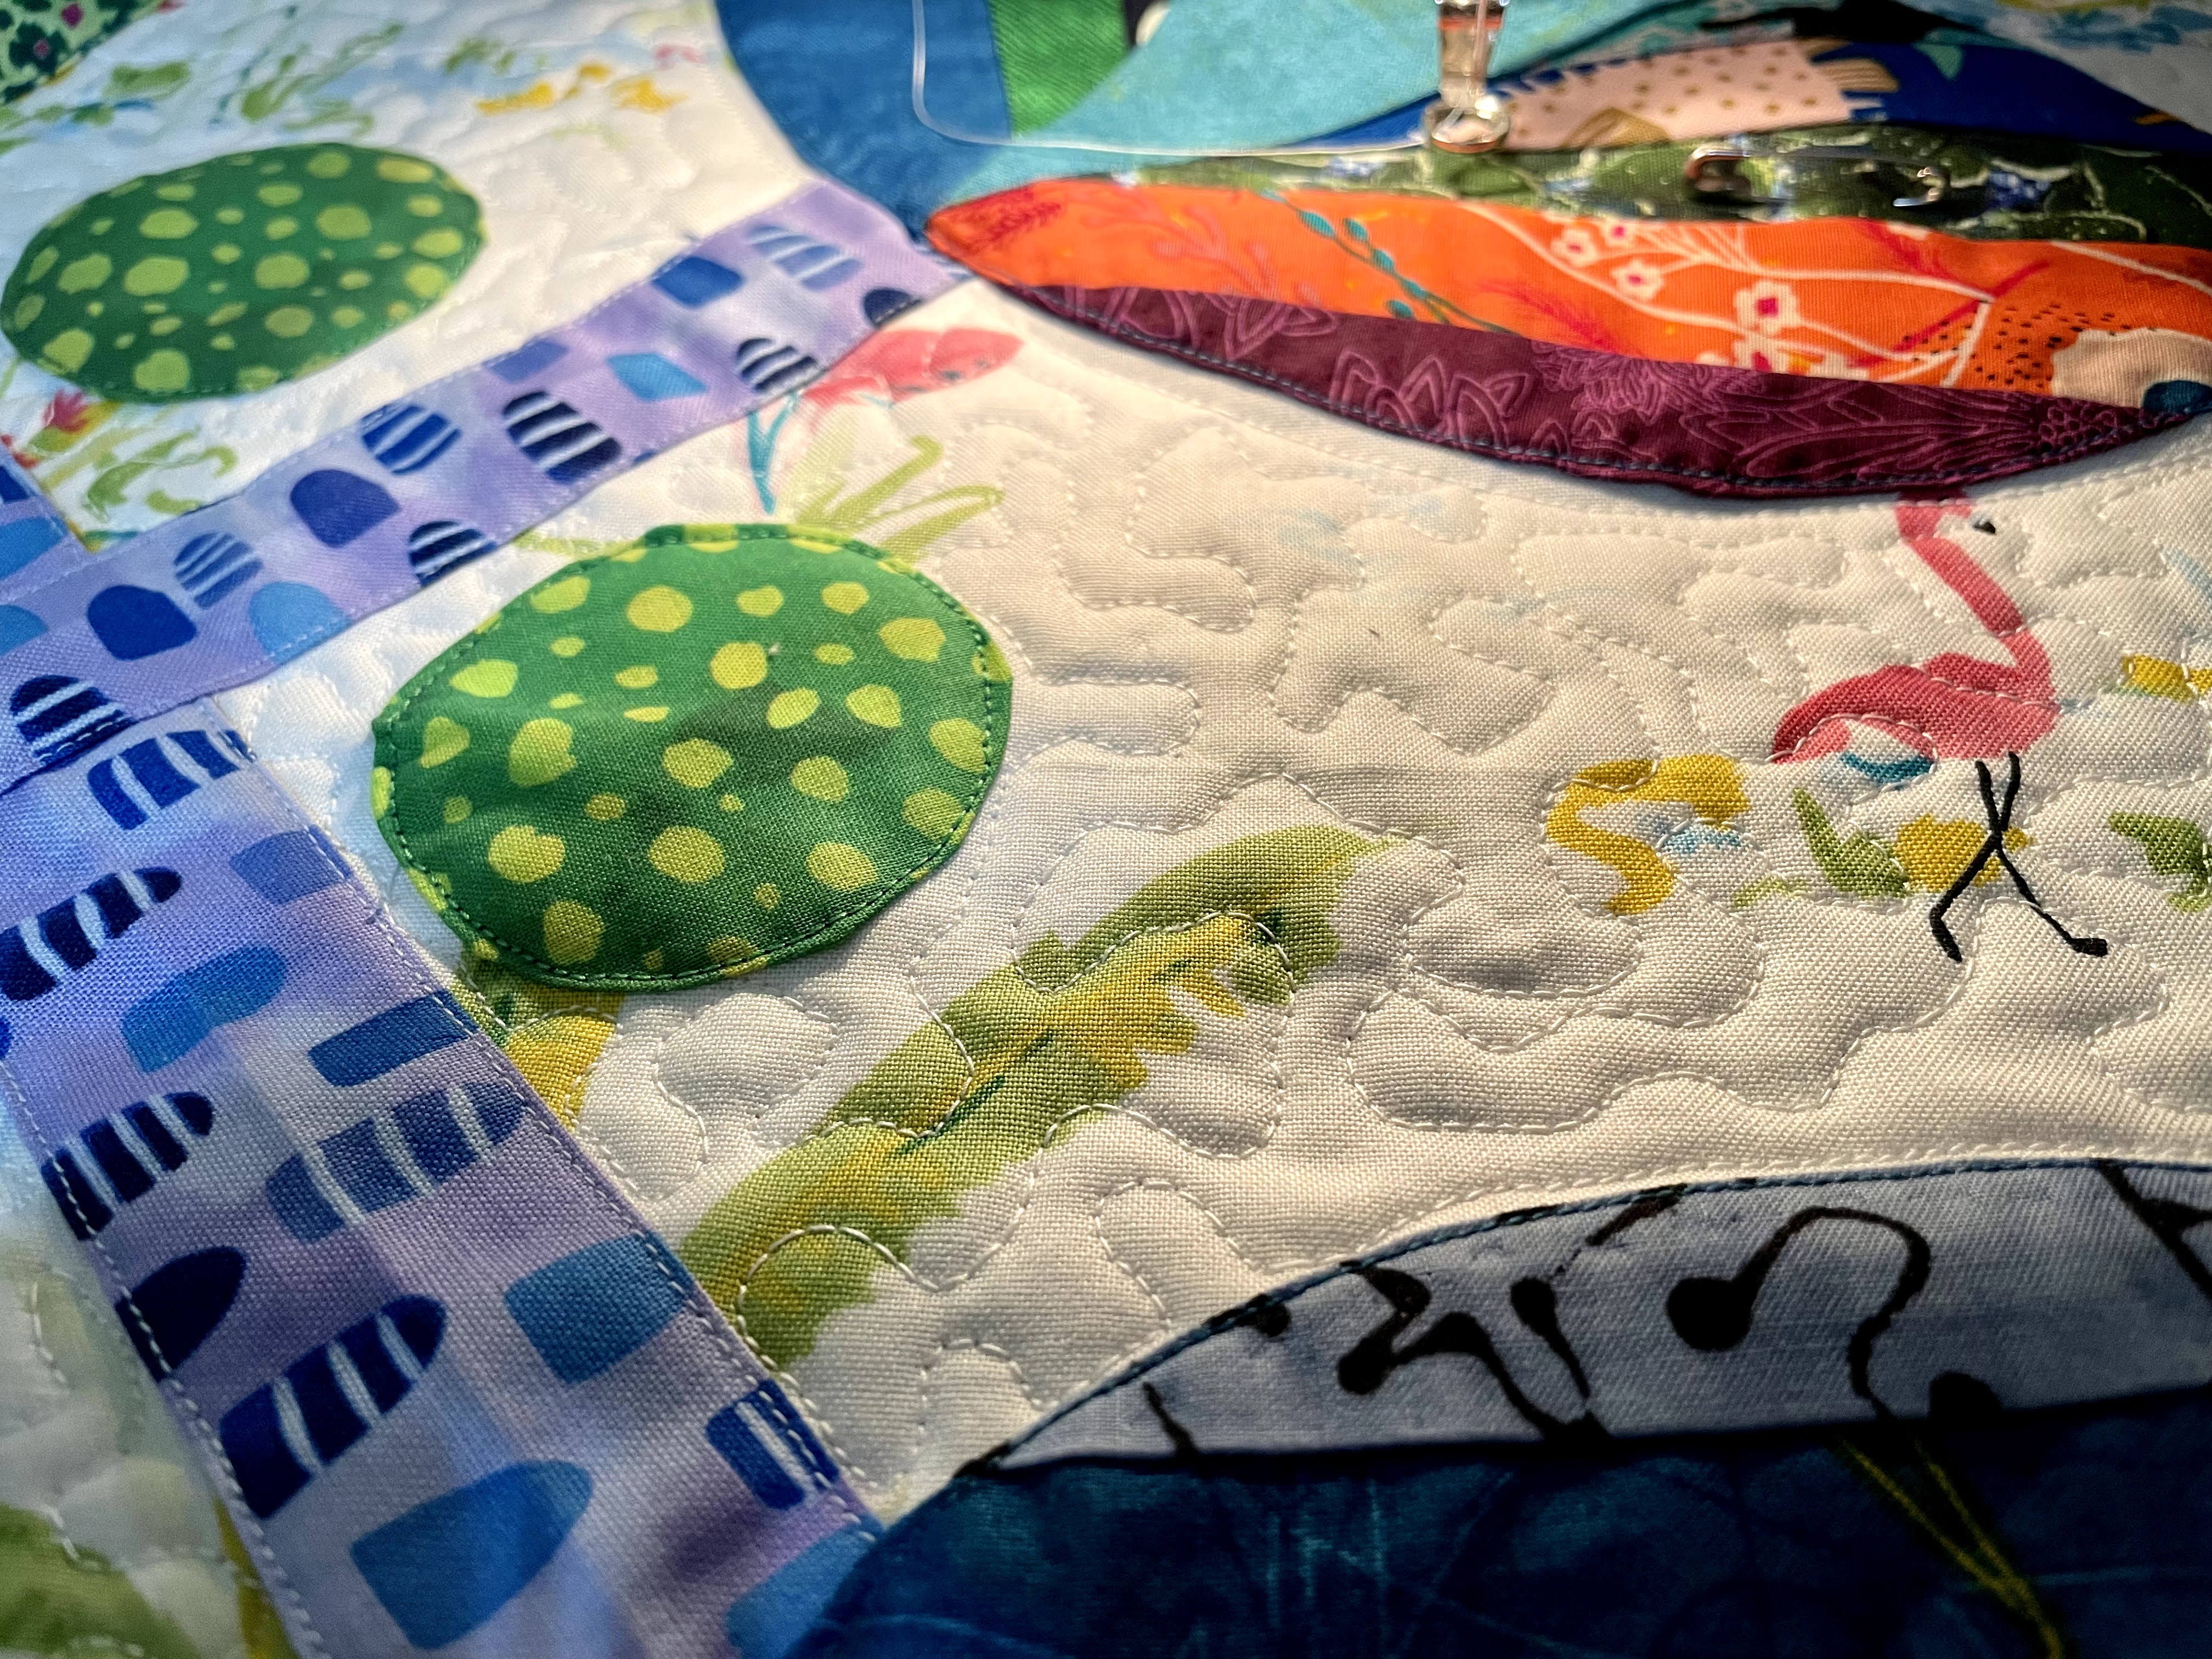
Since I didn't trim the fabric behind the tulips, it's pretty thick there making it difficult to quilt.  The decision was simply outlining near the major seam lines. The white background is stippled/doodled. Not terribly close together but there's only one start and stop in that section. {I hate burying lots of threads when I can avoid it.}  

String Tulip 3 stipple quilting detail

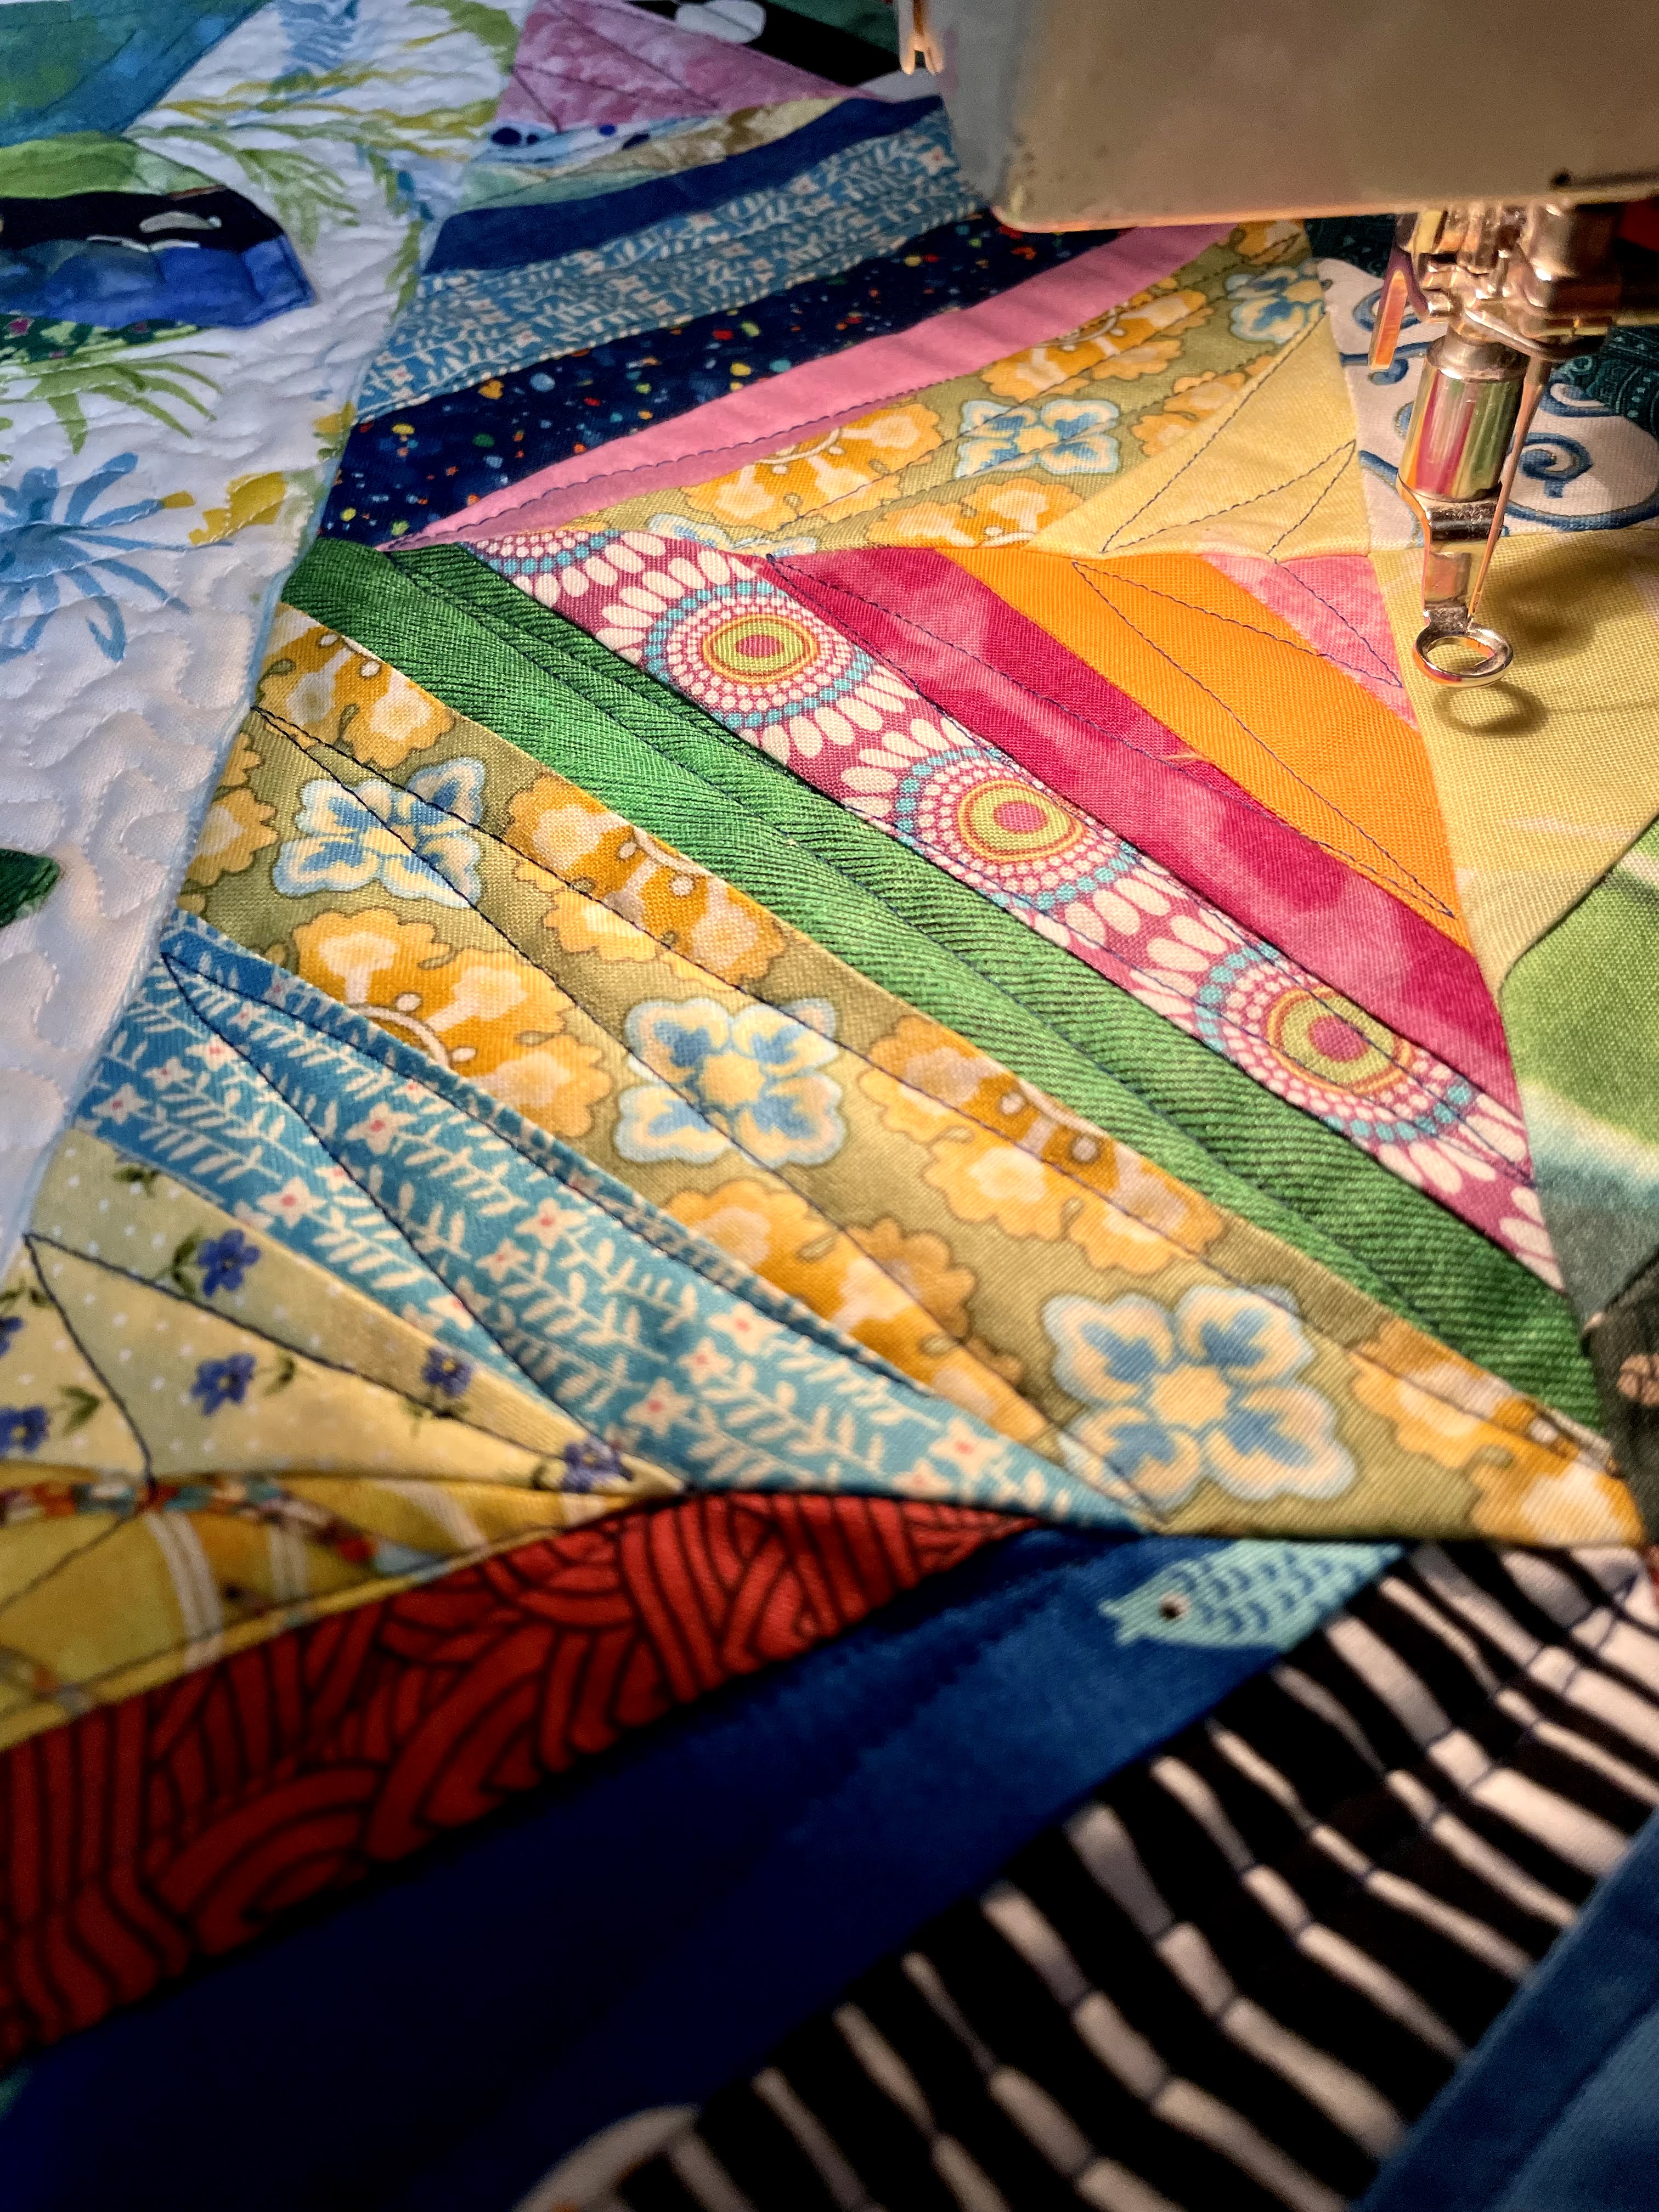
The ESS blocks are free-hand quilted in a zig zag design that moves easily from one to the other because nothing shows in all this busy-ness. 

String Tulip 3 zig zag quilting detail

The outer border is a free-hand loop. And it's done.

Three purple {approximately} half yard pieces sewn dark to light create a simply back. Not clever but an easy way to use up some leftovers that also adds more color. Because this quilt was so quiet... ;-)

String Tulip 3 quilt back

Thanks for playing along with the String Tulip QAL. 
Ann

02 March 2021

Month 2 of String Tulip QAL

 Welcome to the second month of the #AHIQStringTulipsQAL. How did the first month go? I anticipate many inventive variations of the ESS blocks. And explosions of color and creativity. 

Three people have already shared the blocks they've finished to date. Look at them all and compare how the choices they made change this block. Each has interpreted the basic directions to suit herself. None is "more right" than the others. It's simply a matter of choosing your own way.
  1. Sharon at ascensionheart already finished all her ESS blocks. Wow. Her light sides make the Xs stronger and the colors are bright and cheerful.
  2. Maureen posted hers here and on MysticQuilter. If you read her blog you'll know she's a master gardener and it shows in the sophisticated prints and selections that make her Xs look like flowers in bloom.
  3. Kaja's blocks frequent use ofa  blue and white gingham at or near the center strengthens her design. She was the most free in the placement of her values. Notice how the Xs weave from side to side depending on her placement of lights and darks.

This time we'll decide on the center background, and cut and sew the tulips. More thinking this month and a bit more time to finish the ESS blocks. 

String Tulips quilt

Size the Center

Before making tulips, we need to calculate the size of the center of the quilt and choose a background that works with the borders. Remember we are working like a kawandi - from the outside in. Measure your blocks to determine the center size. For my baby quilt, the sum of four string blocks finished is the finished size of the center. Add seam allowances. 

Then add another inch or two because sewing the appliqué often causes the base fabric to shrink a bit. Just remember to re-square the center when the the appliqué is finished. {I learned that from Audrey. Thanks!}

My blocks are 5.5" unfinished or 5" finished. Four of them equals twenty inches finished or 20.5" for the unfinished length. I cut my center 22" and marked a 20" perimeter with washable marker inside it to locate the maximum extent of appliqué. If it pulls the center in, there will still be a bit more "open space" before that seam; i.e., the final seam will be between the marked line and the outer edge.

Choose the Background Fabric

Over-planning kills creativity. My quilts are more creative when I just play with the strings first. The end result is much freer than if I plan the center and try to match strings to it. So now that you have a free-spirited collection of blocks, look through all your stash with open minds for unconventional and unexpected combinations... as Rod would say.

A twenty-two inch square is larger than a fat quarter. Some choices. 
  1. Use a larger piece of fabric like String Tulips 1 which I cut from 2/3 of a yard.
  2. Piece the background from a single fabric like String Tulips 2 where I sewed the extra width from a half yard to enlarge the background.
  3. Piece several different fabrics together. These could be four quarters or an off-centered arrangement. Audrey’s Seedpod quilt is a lovely example. 
  4. Sash the center.
  5. Think of another way yourself.
Lay the ESS blocks around an open center and place different fabrics inside until you find one {or more} that pleases you. It's surprising what pops so try many values and colors. Don't worry about the tulips until the background is settled.

Create Tulip Templates

Because the crossed tulips are radially symmetrical, I only needed a quarter of the design {in my case that's ten inches of paper} to plan my tulips. I taped two sheets of graph paper together, marked off the side measurements and added a main diagonal to keep it symmetrical.

I wanted three separate petals that filled up most of the space. My working sketch shows how I enlarged the tulip repeatedly to fill the area and create larger outer petals. If you don't want such full-blown tulips, adjust your sketch. Paper is cheap.

Tulip sketch fills
a quarter of the center

If you choose to use leftover ESS blocks as your side tulip petals {as I did}, double check that the templates {and seam allowances} fit inside a scrap block by laying them out and making sure there's room for the seam allowance. Here's mine laid over a string block on my light table. 

Checking template size against ESS block size

Once the tulip looked okay, fold the sketch along the diagonal and cut both sides at once, choosing the side that looks better to you as the cutting template.  Or make both sides different. You're the designer here.

Tulip template folded and cut

Trace that tulip on a new sheet for backup. Adjust as needed. {That's where the copy came in handy.}

If you want room for additional applique {such as those circles, leaves, or birds which may be centered between two quadrants} make the tulip smaller.  If you don't want to use ESS blocks for a petal, the templates can be longer. A narrower center template will draw the tulip together. 

Templates with seam allowances on all sides

When you're satisfied, cut your template into the three pieces, trace them, and add seam allowances. If you choose to raw-edge applique your tulips, they only need seam allowances between the petals themselves.

You are welcome to use my tulip template for a twenty-inch center. Cut and add seam allowances as required.

Pick Tulip String Colors/Values 

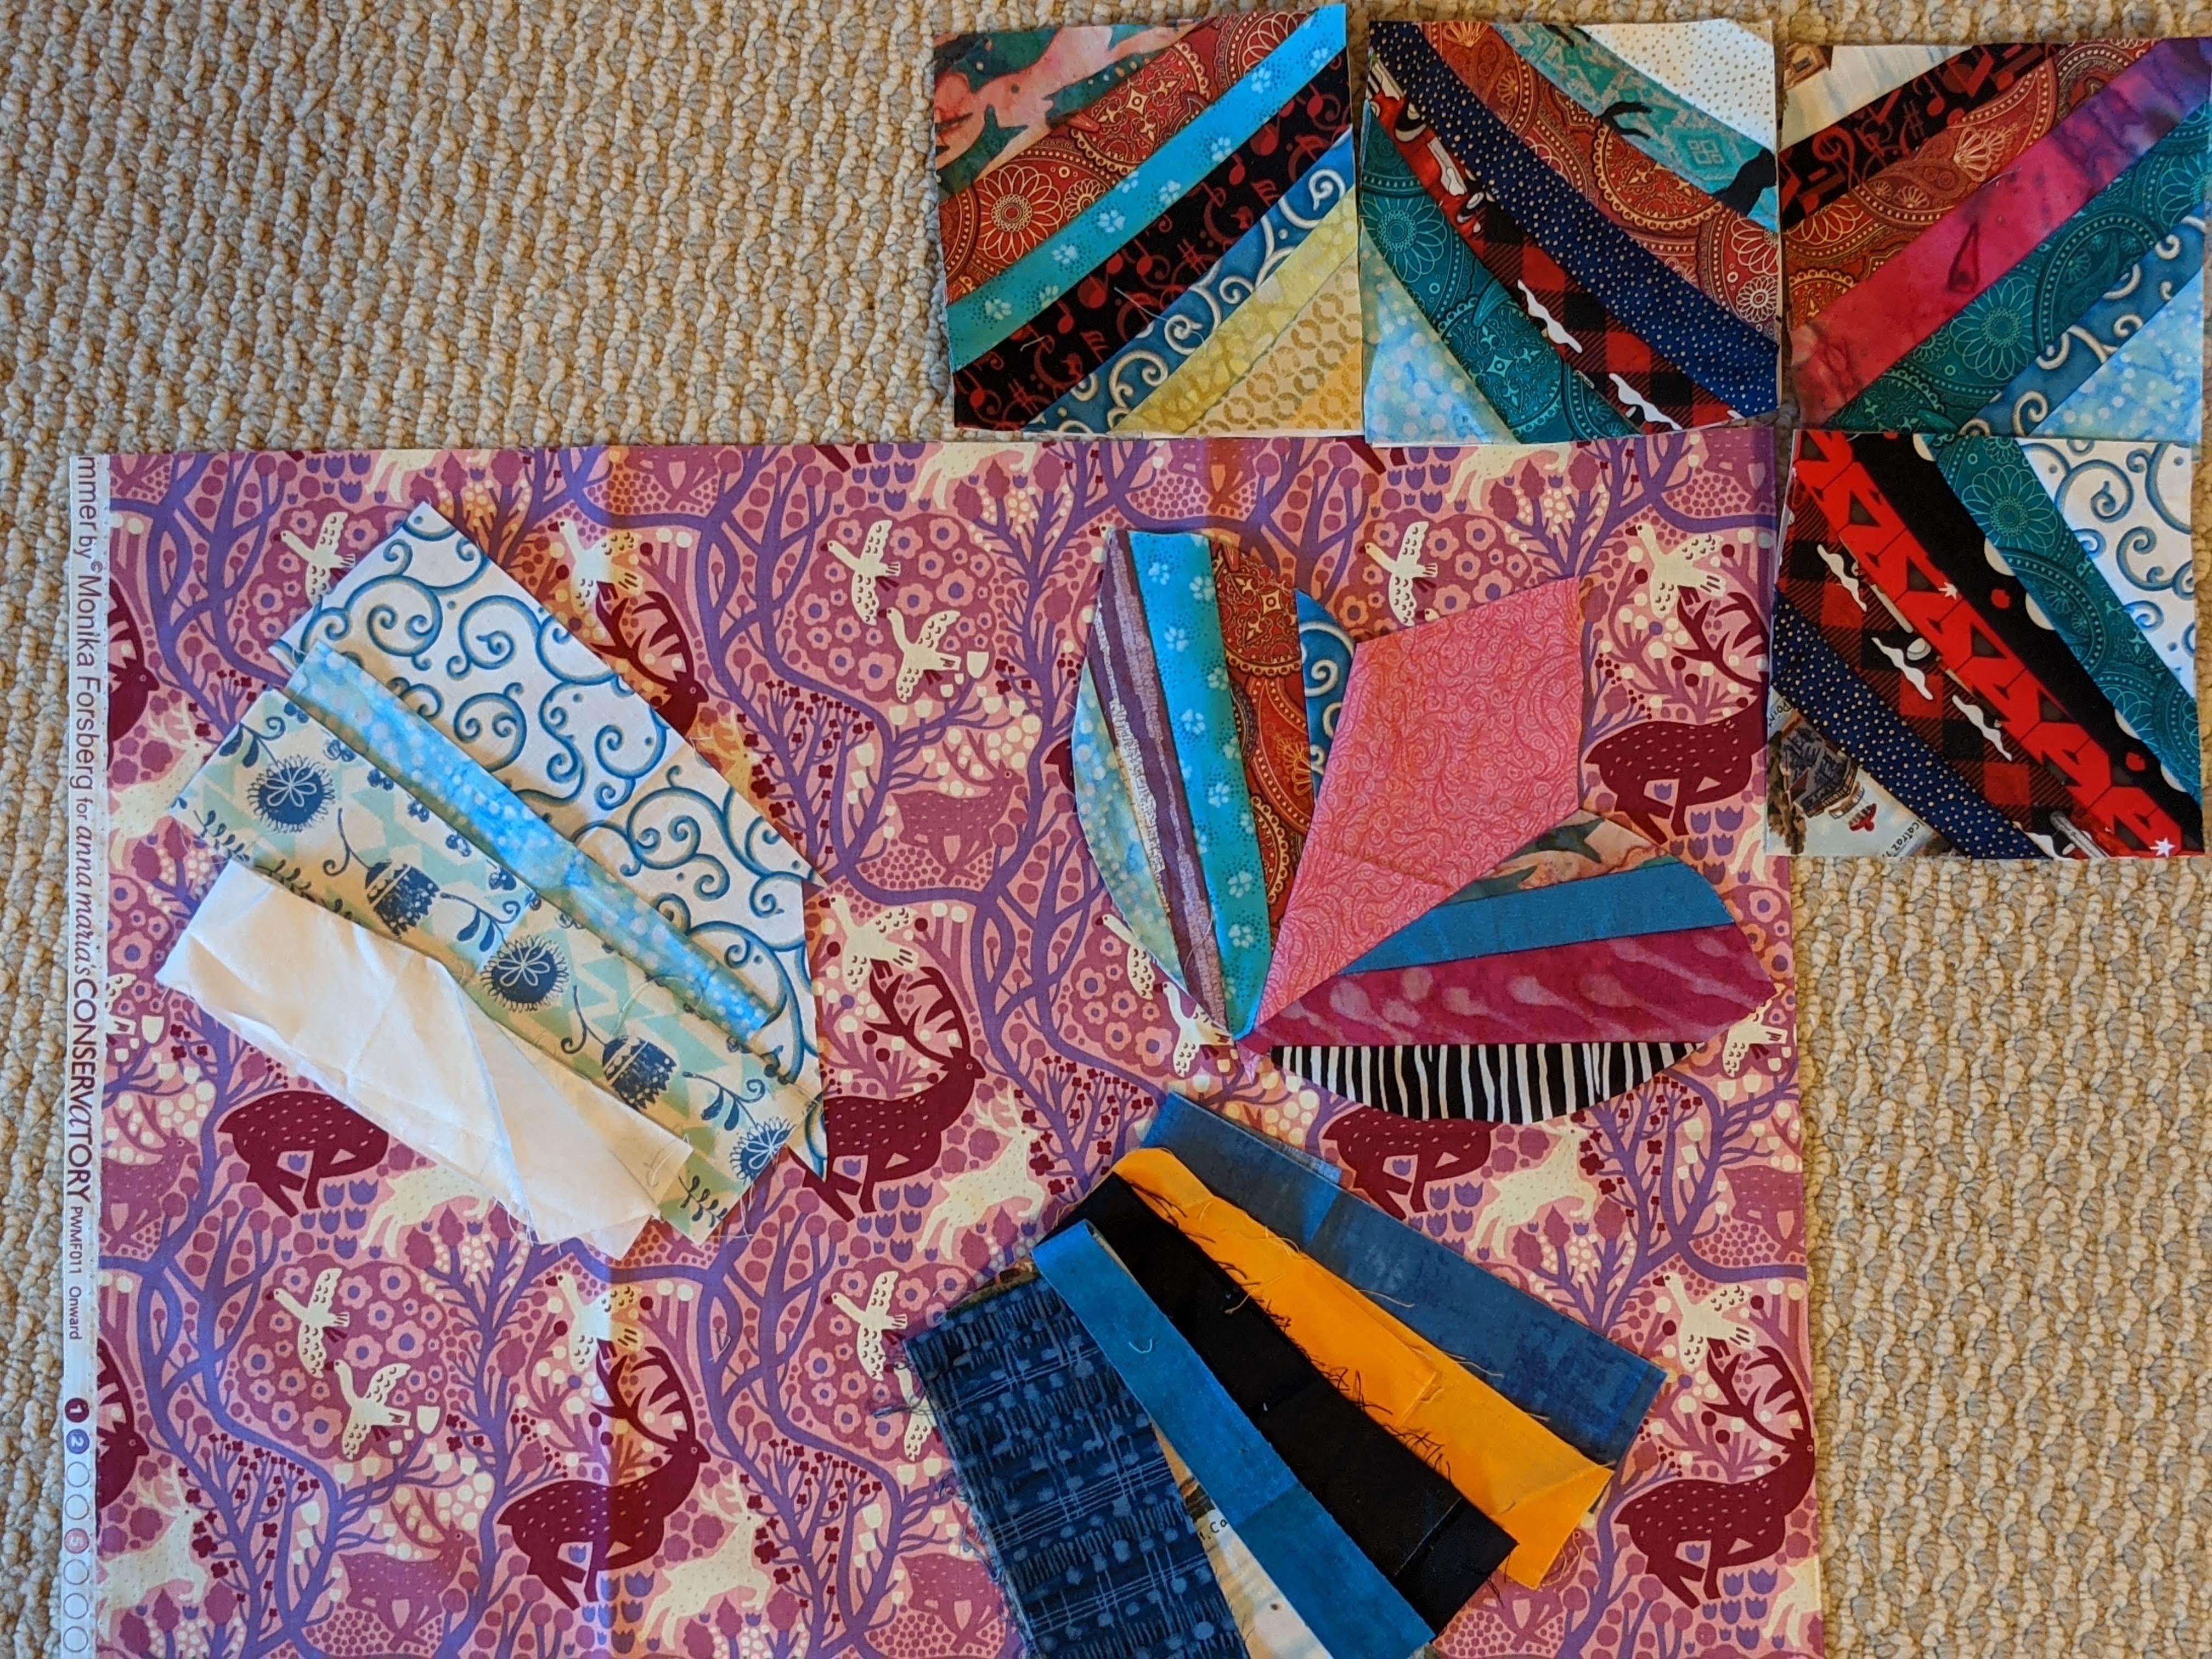
Consider what values will show up best on your background. The green and chartreuse center of String Tulips 1 is a dark medium which meant the tulips needed to be much darker or lighter to contrast. The medium values of most of my ESS blocks got lost. So I sewed more blocks before making all the tulip petals. {That's how the black tulips were born.} On the other hand, lighter tulips fit String Tulips 2. No new blocks were needed. 

My current ESS blocks work well with the pink background but the prepared tulip {in the middle} gets lost. If I want to use this background, the tulips should include strips like the dark set or possibly the whites. 

Strip choices for tulips
against a pink background

Determine Strip Direction

Most antique tulip quilts run the strips across the petals but I ran them vertically the length of the petal. What would other directions look like?

Tulip petal template on ESS block

Warning 1: Because several seams crowd the bottom of the tulip, vertical seams can make it difficult to turn a seam allowance on the outer edge. If you choose vertical strips, try to space them so bulky seams are minimized. Remember there are two more seams when you sew the three pieces together.

Warning 2: The 1.5" rule for the corners of ESS blocks applies here, too. Is there enough room to turn the last string under or will it just be multiple seam allowances?

The center petal can be more strips running the same direction or perpendicular. Or it can be a single piece of fabric. {I chose the latter.}

Pin the templates to your fabric or strip sets and cut them out. OR sew new strips on top of each of the eight petals, remembering that the side petals of each tulip are mirror images. 

Two string tulip petals,
back of left side and front of right side

Prepare the Tulips

Sew the side petals to the center petal. Pin together matching start and ending points. Start a few stitches from the first pin and backstitch to it. 

Backstitch at the beginning
and end of the seams

Then sew straight to the final pin and backstitch a few stitches. This stabilizes the sewing and makes turning the seams under an easier task. 

Stabilized seams with
more ease to turn seams

I folded and pressed seam allowances around the tulip. I like the end result but it is bulky. There are many other choices. You can needle turn the tulips, finish with raw edges, sew them interfacing and turn. What else? Use a method you like.

Tulip on light background

Next month we'll attach stems and tulips to the background. In the meanwhile, play with your ESS blocks and choose an exciting background. Then seriously consider the strips that would create a showy tulip. 

These directions are posted here and on my personal blog, FretNotYourself.

 There are many ways to imagine the center. Consider what else you want to add and make sure you have enough room. There was a beautiful applique quilt from Pennsylvania at the American Folk Art Museum a few years ago. Do any of these motifs strike a spark with you? Would your tulips prefer to be in a vase or set individually? 

Have fun! Ann


02 February 2021

String Tulip QAL - Month 1

 Welcome to the first month of the String Tulip QAL. 


String Tulips 2 quilt

We usually issue biannual prompts to focus our creativity and our discussions {somewhat.} However, this time we are trying a QAL. Using my String Tulips as a starting point, I'll post directions here and on my own blog the first Tuesday of the month. 

We have the whole month for each step which helps it fit in between the many projects we all have. You can try it or not. Change it up to suit yourself - larger blocks, different flowers, flowers in the border. Whatever. That's why it's improv. 

This month we address the string blocks, the ones in my border, because that was the first part I made.

Four ESS string blocks form an X

Block Plan

There's no way to figure every size and variation of these blocks. I'm writing what I did previously. Make your own alterations. My 42-inch square baby quilts used five-inch finished string blocks. The X shows up when you put four blocks together. Even if you make a different size quilt, keep that fact in mind.

As I wrote last month, you will need 64 string blocks to make only Electric Socket Shock {a quilt of all string blocks} or 48 string blocks to make the String Tulips quilt variation but it always helps to have some extras. 

Cut paper foundations 5.5" square. Use newsprint or even copy paper and cut with paper scissors or an old rotary blade since the paper will ruin it for fabric. Here's a sample Electric Socket Shock block to scale with a 1" marker to check. It looks like the sketch below. 


The foundation has a quarter-inch seam allowance; however, bulky seam allowances may require wider seams.

The diagonal lines are merely suggestions but drawing a few on each sheet serves as a reminder of the direction of the expansion. {Ask me how I know.} Your actual seam lines depend on the width and shape of your strings. All of mine are different widths. I found the sequence of values more important than the widths. 

The critical part is the way the strings widen from one end to the other. They don't need a huge difference in the width; most of mine differ from a quarter-inch to an inch at opposite ends. I.e., the wide end might be 1.5" while the narrow end is 1.25". Just ensure that the narrower ends are all at the same end of the block.

My sketch has the seam along the main diagonal but my blocks have the first/main string {more or less} centered along that line instead. Either way is fine. 

Strip Sizes

The red lines on the foundation point out is how little fabric will show {and how much extra bulk will be added to the seam allowance} if you aren't careful. I learned {the hard way} that the width of those outer strips should be 1.5" or more. That doesn't mean you can't use narrower strings; just put them closer to the center.

The three center strips need about eight inches to cross the diagonal while the shortest ones are about four inches long. {The longer length of the side strips took me a while to visualize. I kept trying to put little HSTs there. While they work with regular string blocks, they don't work with ESS blocks.} You can certainly use even longer strings and trim after they are sewn.

Sorting

Because my scraps are often short bits, I pulled strings long enough for the center and set them in one pile. That ensured there were enough long ones to finish my blocks; they weren't used up early in shorter lateral positions.

After that I pulled randomly but generally left the lights for the sides. I usually put darks or bright mediums in the center but there are multitudinous ways to order the strips. What should you do? Whatever tickles your fancy.

When there is a value difference between the center section and the sides, the X shape shows up better although it's not very visible until four are set together.  Light and dark are relative; they depend on which fabrics you're using. If you are hesitant, consider using a Grey Scale Value Finder

It's hard to visualize how well your blocks are working until you put four together. So make your first four, and look at them before making adjustments.

Here are my first 12 blocks. No rhyme or reason in their construction. Narrow "blades" {the center of one section of the X} and wider corners or vice versa change with the value choices. A strong value contrast creates a defined edge of the "blade" in the center while a subtle value contrast widens the blade... or causes it to disappear. Where do you see the "sides of the blades?" What do you think made that happen? Does it help or hurt to alternate darker and lighter fabrics in the corners? Your opinion is the only one that matters in your quilt.


Twelve Electric Socket Shock string blocks

Matching colors on each side of the center strip could be an interesting idea but, as has been written in many scrap quilt books, value is more significant than color.  Or consider alternating light and dark strips. So many possibilities.

The yellows on the first ESS made the quilt vibrate. And it didn't take many to achieve that result because of yellow's high intensity. 

Blocks that don't seem to work can be used for tulip petals later on. Or they can go on the back. Or you can donate them.

Cutting

There are some choices for cutting. {That's why it's improv.} If you have wider strings/chunks, consider cutting them diagonally like this. Not corner to corner! Try for a 3/4" or greater width at the narrow ends of the strips to leave room for seam allowances, to reduce the bulk on the edges, and to better utilize all your scraps. I call this a wedge. Remember, it doesn't take much difference from end to end; the cumulative effect of several wedges increases the expansion.

Cutting a strip into two wedges

If you have a chunk of fabric, you can cut several wedges like this. They don't have to be the same widths.

Cutting several wedges from a chunk of fabric

If your string is already a wedge or triangle, just leave it.

This string went in to the scrap
bag as a wedge/triangle.

If you have a long {WOF} string, leave it until you are ready to place it. Then you can cut it to the appropriate length and create a wedge.

Sewing

Shorten your stitch length to aid when removing the paper later. 

Place a long {eight-inch} wedge on the main diagonal and sew another wedge each side. {If you choose a different-sized block, the longest string is about 1.5 times a side length. Yes, technically the correct measurement is 1.41 but 1.5 is easier.}

If your string is already a wedge, just sew the regular quarter-inch seam. 

Two wedges sewn with quarter-inch seam

Or sew a seam allowance that starts with a quarter-inch at the wide side and increases a bit {3/8" or 5/16"} at the narrow side. The excess seam allowance can be trimmed back by hand or by flipping back both the string and paper and trimming. You can leave the excess but I found the extra fabric at the narrow end makes the block's seam thicker which becomes hard to iron down once blocks are sewn together.

Because I frequently use any paper lying around, I always fold the papers back {and then straighten them out again} after every seam. Call it pre-creasing. They tear more easily later. Don't do this with fine or fragile paper.

Fold paper back after every seam
to help it tear later

If using a really narrow string simply sew the quarter-inch seam; it's only one tiny string and won't lose the expansion effect.

The Corners

As you reach the corners, it's often easier to use a rectangle at at least 4" by 1.5" or more. There will be some waste but it may be better than sewing a wedge on the wrong side. {Ask me how I know.}

A 2.5x4" rectangle
completes the lower corner

Pre-test your strip placements by overlapping the seams to ensure it reaches as far as you want. Sometimes the string covers the corner but frequently the last strip doesn't quite reach. 

String in lower left won't
quite cover the corner

Here are three ways to handle it. 

1. Use a larger wedge or chunk instead.

Don't worry about it being too large. It's easy to square up later... even if there's some waste.

A wide wedge or chunk
covers the corner with extra room

2. Adjust your final trim to avoid the problem.

Here, the paper peaks out a smidge behind the final strip on the right. 

The lower right strip is a bit short
of the width needed

Turn the block over to evaluate if it can be eliminated by trimming a bit differently. In this case, moving the 5.5" ruler to the right and down for the final squaring up resolves the problem. 

Back of "a bit short"

This solution does not work for precision piecing; however, these are improv blocks and seam lines don't need to match up. 

3. Move the final strip closer to the center
If the last open space on the foundation is too small {less than 1.5" wide} consider moving the final strip towards the center and sewing a new quarter-inch seam allowance based on the top strip. 

Give the corner strip more room 
by moving it towards the center


Final Details

Press after every pair of strings is sewn {one on each side of the first.} If the foundation is heavier paper I steam the back {paper side} each time, too, to weaken the paper for tearing later. 

Blocks can be trimmed to any size, larger or smaller than the foundation, as long as the fabric extends that far. Trim from the front or back of the block, whichever wiggles less. The paper does not adhere as well to the mat or the ruler so take your time and be careful. Mine get  trimmed as soon as they are finished; however, because of all the bias edges, I don't remove the paper until I'm ready to sew them into the top. I just keep them in a stack where they won't fray or stretch. 

Special thanks to Gayle, Sharon, and Maureen for proofing and testing this post. Their suggestions improved the clarity. For more information, Maureen kindly agreed to post her impressions and samples on her blog, MysticQuilter. 

Please post photos on this blog if you can. Feel free to post your progress anywhere - on whatever social media you use and your own blog - but we'd appreciate tagging it with #AHIQStringTulipQAL so they can easily be found. We always enjoy details about how you personalized your version. The process is more interesting to us makers.

Ann