Welcome to the second month of the #AHIQStringTulipsQAL. How did the first month go? I anticipate many inventive variations of the ESS blocks. And explosions of color and creativity.
Three people have already shared the blocks they've finished to date. Look at them all and compare how the choices they made change this block. Each has interpreted the basic directions to suit herself. None is "more right" than the others. It's simply a matter of choosing your own way.
- Sharon at ascensionheart already finished all her ESS blocks. Wow. Her light sides make the Xs stronger and the colors are bright and cheerful.
- Maureen posted hers here and on MysticQuilter. If you read her blog you'll know she's a master gardener and it shows in the sophisticated prints and selections that make her Xs look like flowers in bloom.
- Kaja's blocks frequent use ofa blue and white gingham at or near the center strengthens her design. She was the most free in the placement of her values. Notice how the Xs weave from side to side depending on her placement of lights and darks.
This time we'll decide on the center background, and cut and sew the tulips. More thinking this month and a bit more time to finish the ESS blocks.
 |
| String Tulips quilt |
Size the Center
Before making tulips, we need to calculate the size of the center of the quilt and choose a background that works with the borders. Remember we are working like a kawandi - from the outside in. Measure your blocks to determine the center size. For my baby quilt, the sum of four string blocks finished is the finished size of the center. Add seam allowances.
Then add another inch or two because sewing the appliqué often causes the base fabric to shrink a bit. Just remember to re-square the center when the the appliqué is finished. {I learned that from
Audrey. Thanks!}
My blocks are 5.5" unfinished or 5" finished. Four of them equals twenty inches finished or 20.5" for the unfinished length. I cut my center 22" and marked a 20" perimeter with washable marker inside it to locate the maximum extent of appliqué. If it pulls the center in, there will still be a bit more "open space" before that seam; i.e., the final seam will be between the marked line and the outer edge.
Choose the Background Fabric
Over-planning kills creativity. My quilts are more creative when I just play with the strings first. The end result is much freer than if I plan the center and try to match strings to it. So now that you have a free-spirited collection of blocks, look through all your stash with open minds for unconventional and unexpected combinations... as Rod would say.
A twenty-two inch square is larger than a fat quarter. Some choices.
- Use a larger piece of fabric like String Tulips 1 which I cut from 2/3 of a yard.
- Piece the background from a single fabric like String Tulips 2 where I sewed the extra width from a half yard to enlarge the background.
- Piece several different fabrics together. These could be four quarters or an off-centered arrangement. Audrey’s Seedpod quilt is a lovely example.
- Sash the center.
- Think of another way yourself.
Lay the ESS blocks around an open center and place different fabrics inside until you find one {or more} that pleases you. It's surprising what pops so try many values and colors. Don't worry about the tulips until the background is settled.
Create Tulip Templates
Because the crossed tulips are radially symmetrical, I only needed a quarter of the design {in my case that's ten inches of paper} to plan my tulips. I taped two sheets of graph paper together, marked off the side measurements and added a main diagonal to keep it symmetrical.
I wanted three separate petals that filled up most of the space. My working sketch shows how I enlarged the tulip repeatedly to fill the area and create larger outer petals. If you don't want such full-blown tulips, adjust your sketch. Paper is cheap.
 |
Tulip sketch fills
a quarter of the center |
If you choose to use leftover ESS blocks as your side tulip petals {as I did}, double check that the templates {and seam allowances} fit inside a scrap block by laying them out and making sure there's room for the seam allowance. Here's mine laid over a string block on my light table.
 |
| Checking template size against ESS block size |
Once the tulip looked okay, fold the sketch along the diagonal and cut both sides at once, choosing the side that looks better to you as the cutting template. Or make both sides different. You're the designer here.
 |
Tulip template folded and cut
|
Trace that tulip on a new sheet for backup. Adjust as needed. {That's where the copy came in handy.}
If you want room for additional applique {such as those circles, leaves, or birds which may be centered between two quadrants} make the tulip smaller. If you don't want to use ESS blocks for a petal, the templates can be longer. A narrower center template will draw the tulip together.
 |
| Templates with seam allowances on all sides |
When you're satisfied, cut your template into the three pieces, trace them, and add seam allowances. If you choose to raw-edge applique your tulips, they only need seam allowances between the petals themselves.
Pick Tulip String Colors/Values
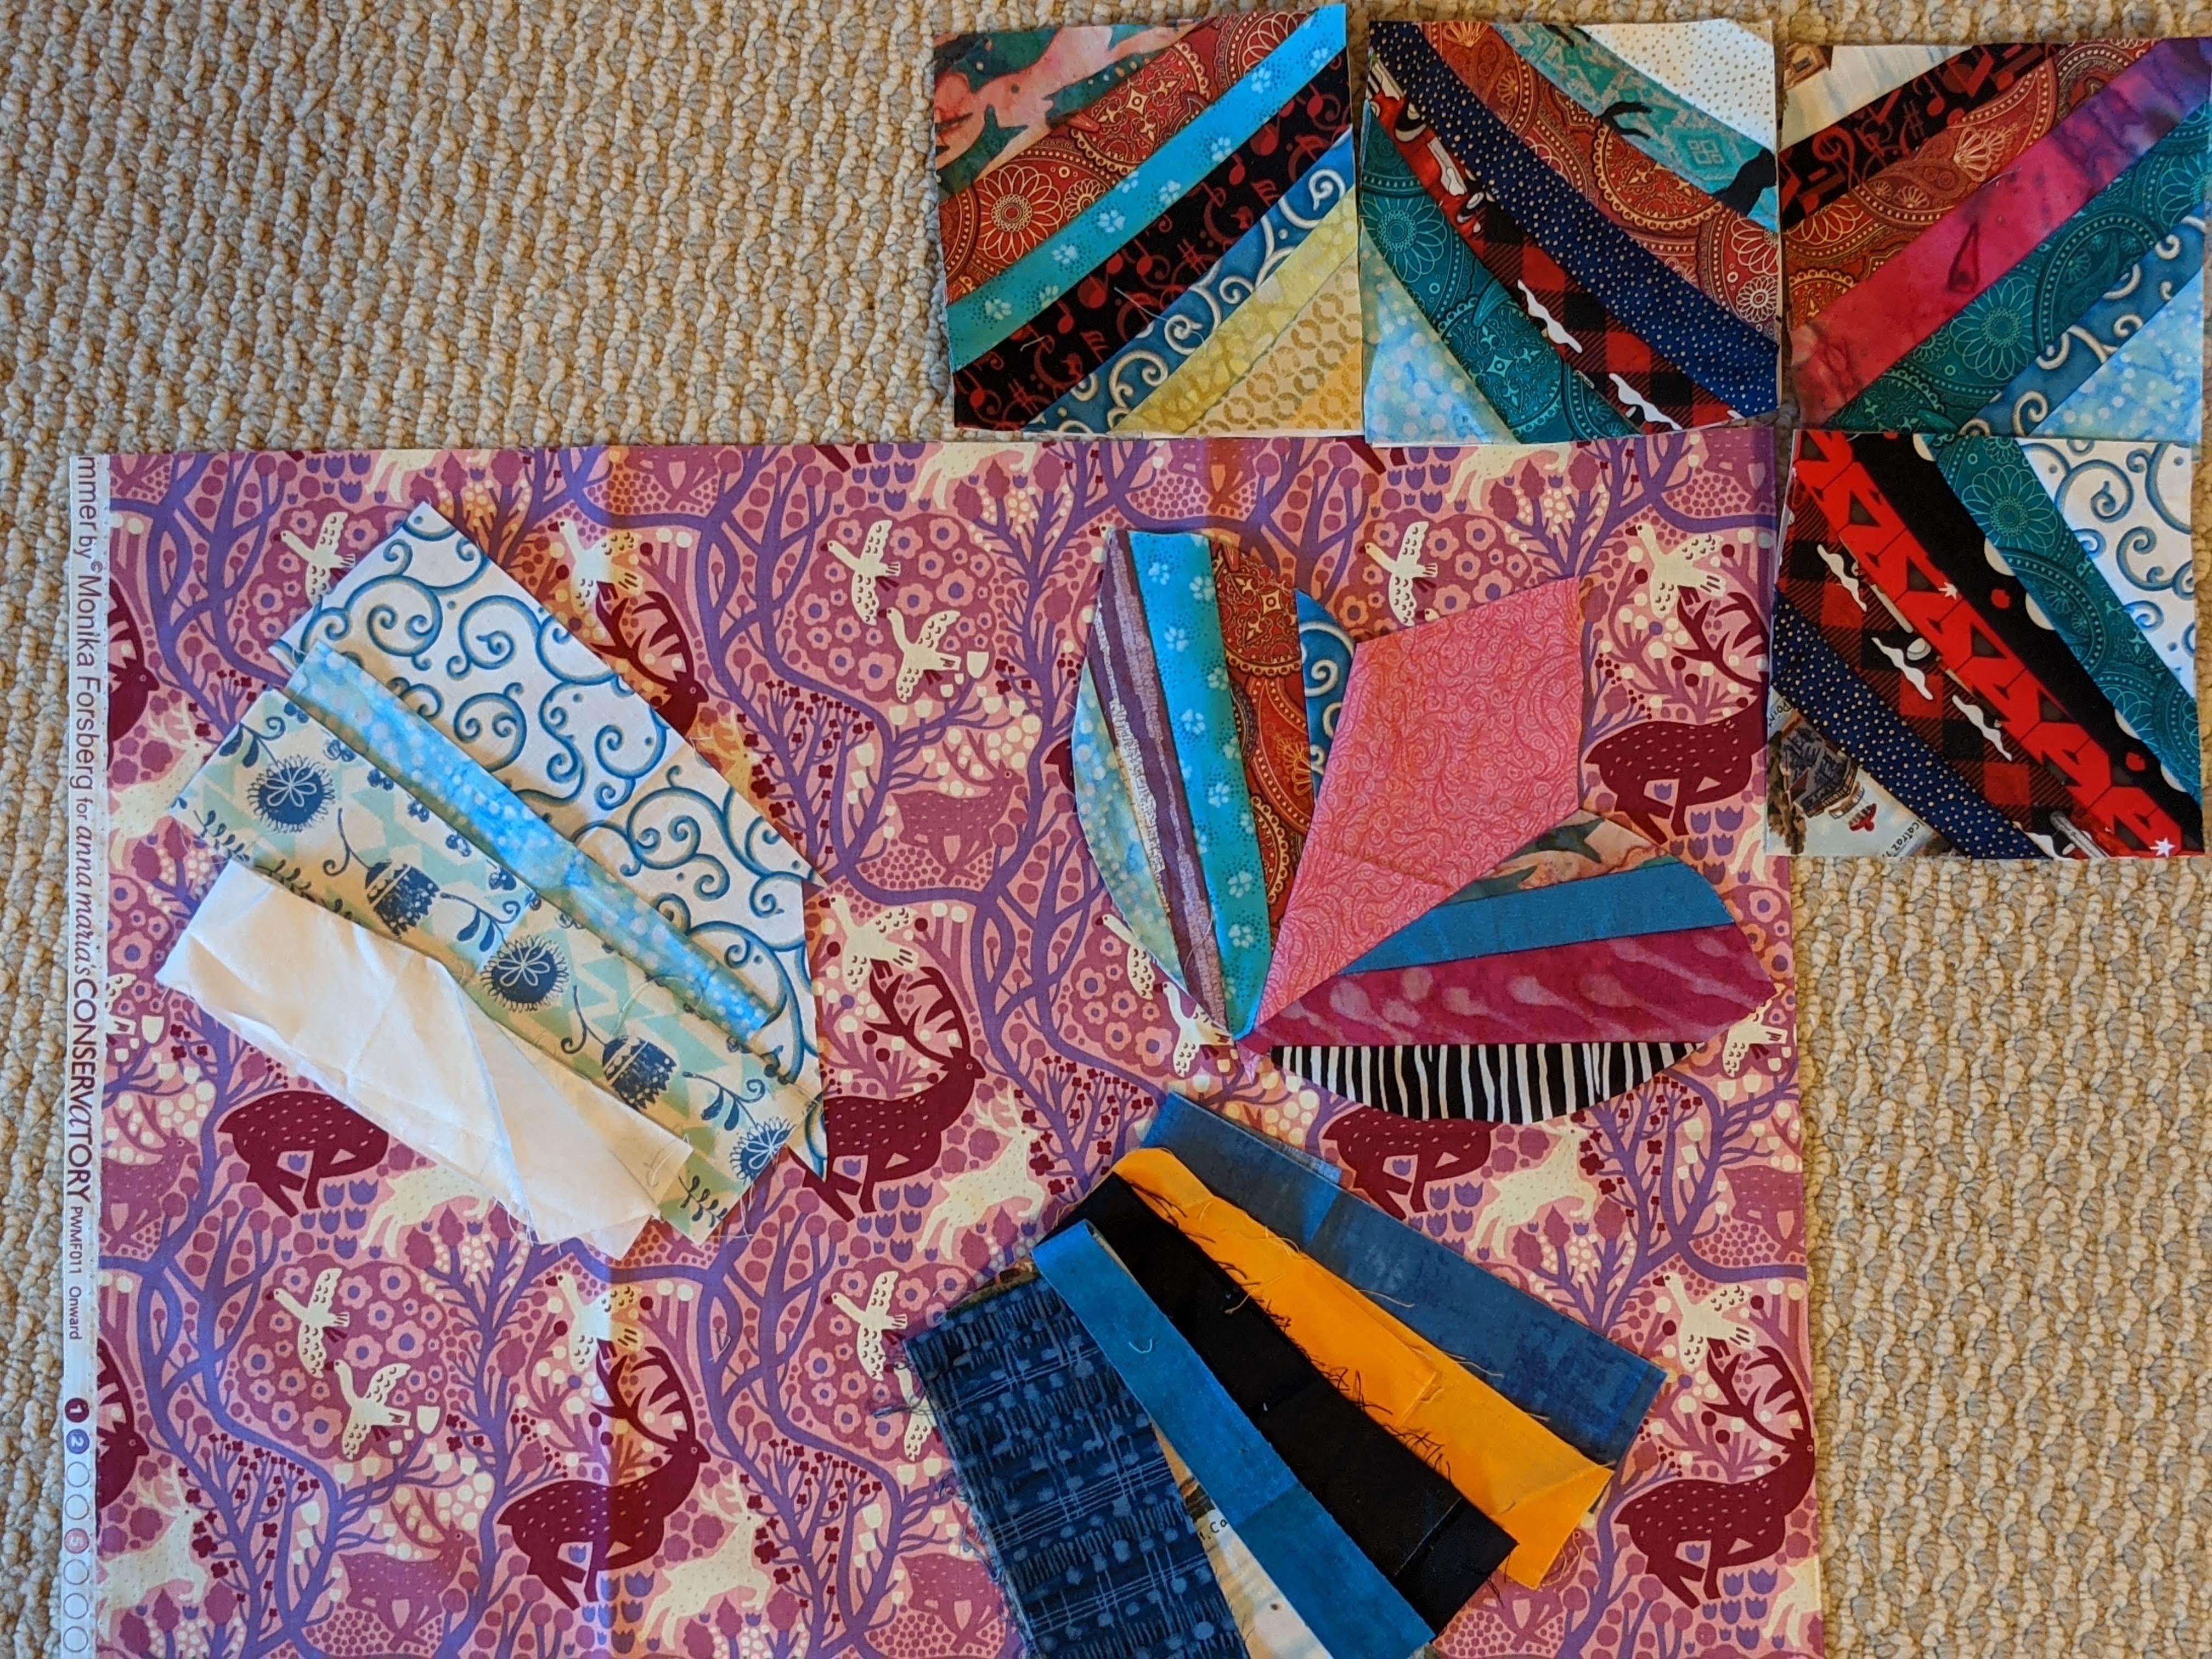
Consider what values will show up best on your background. The green and chartreuse center of String Tulips 1 is a dark medium which meant the tulips needed to be much darker or lighter to contrast. The medium values of most of my ESS blocks got lost. So I sewed more blocks before making all the tulip petals. {That's how the black tulips were born.} On the other hand, lighter tulips fit String Tulips 2. No new blocks were needed.
My current ESS blocks work well with the pink background but the prepared tulip {in the middle} gets lost. If I want to use this background, the tulips should include strips like the dark set or possibly the whites.
 |
Strip choices for tulips
against a pink background |
Determine Strip Direction
Most antique tulip quilts run the strips across the petals but I ran them vertically the length of the petal. What would other directions look like?
 |
| Tulip petal template on ESS block |
Warning 1: Because several seams crowd the bottom of the tulip, vertical seams can make it difficult to turn a seam allowance on the outer edge. If you choose vertical strips, try to space them so bulky seams are minimized. Remember there are two more seams when you sew the three pieces together.
Warning 2: The 1.5" rule for the corners of ESS blocks applies here, too. Is there enough room to turn the last string under or will it just be multiple seam allowances?
The center petal can be more strips running the same direction or perpendicular. Or it can be a single piece of fabric. {I chose the latter.}
Pin the templates to your fabric or strip sets and cut them out. OR sew new strips on top of each of the eight petals, remembering that the side petals of each tulip are mirror images.
 |
Two string tulip petals,
back of left side and front of right side |
Prepare the Tulips
Sew the side petals to the center petal. Pin together matching start and ending points. Start a few stitches from the first pin and backstitch to it.
 |
Backstitch at the beginning
and end of the seams |
|
Then sew straight to the final pin and backstitch a few stitches. This stabilizes the sewing and makes turning the seams under an easier task.
 |
Stabilized seams with
more ease to turn seams |
I folded and pressed seam allowances around the tulip. I like the end result but it is bulky. There are many other choices. You can needle turn the tulips, finish with raw edges, sew them interfacing and turn. What else? Use a method you like.
 |
| Tulip on light background |
Next month we'll attach stems and tulips to the background. In the meanwhile, play with your ESS blocks and choose an exciting background. Then seriously consider the strips that would create a showy tulip.
Have fun! Ann